
Home / The Oopbuy order, one step at a time
The Oopbuy order, one step at a time
Follow the official order sequence from the seller link to warehouse inspection, parcel payment and delivery.
Before the first payment
This guide follows the official 11-step Oopbuy tutorial, checked on 18 October 2026. Its 13 frames are the 2024 interface, with personal details redacted where necessary. Interface labels, prices and promotions may differ in your current account.
The shopping sequence has two payment stages: first the items and domestic delivery, then international freight, which may be adjusted after packing. Keep those separate when deciding what you can afford.
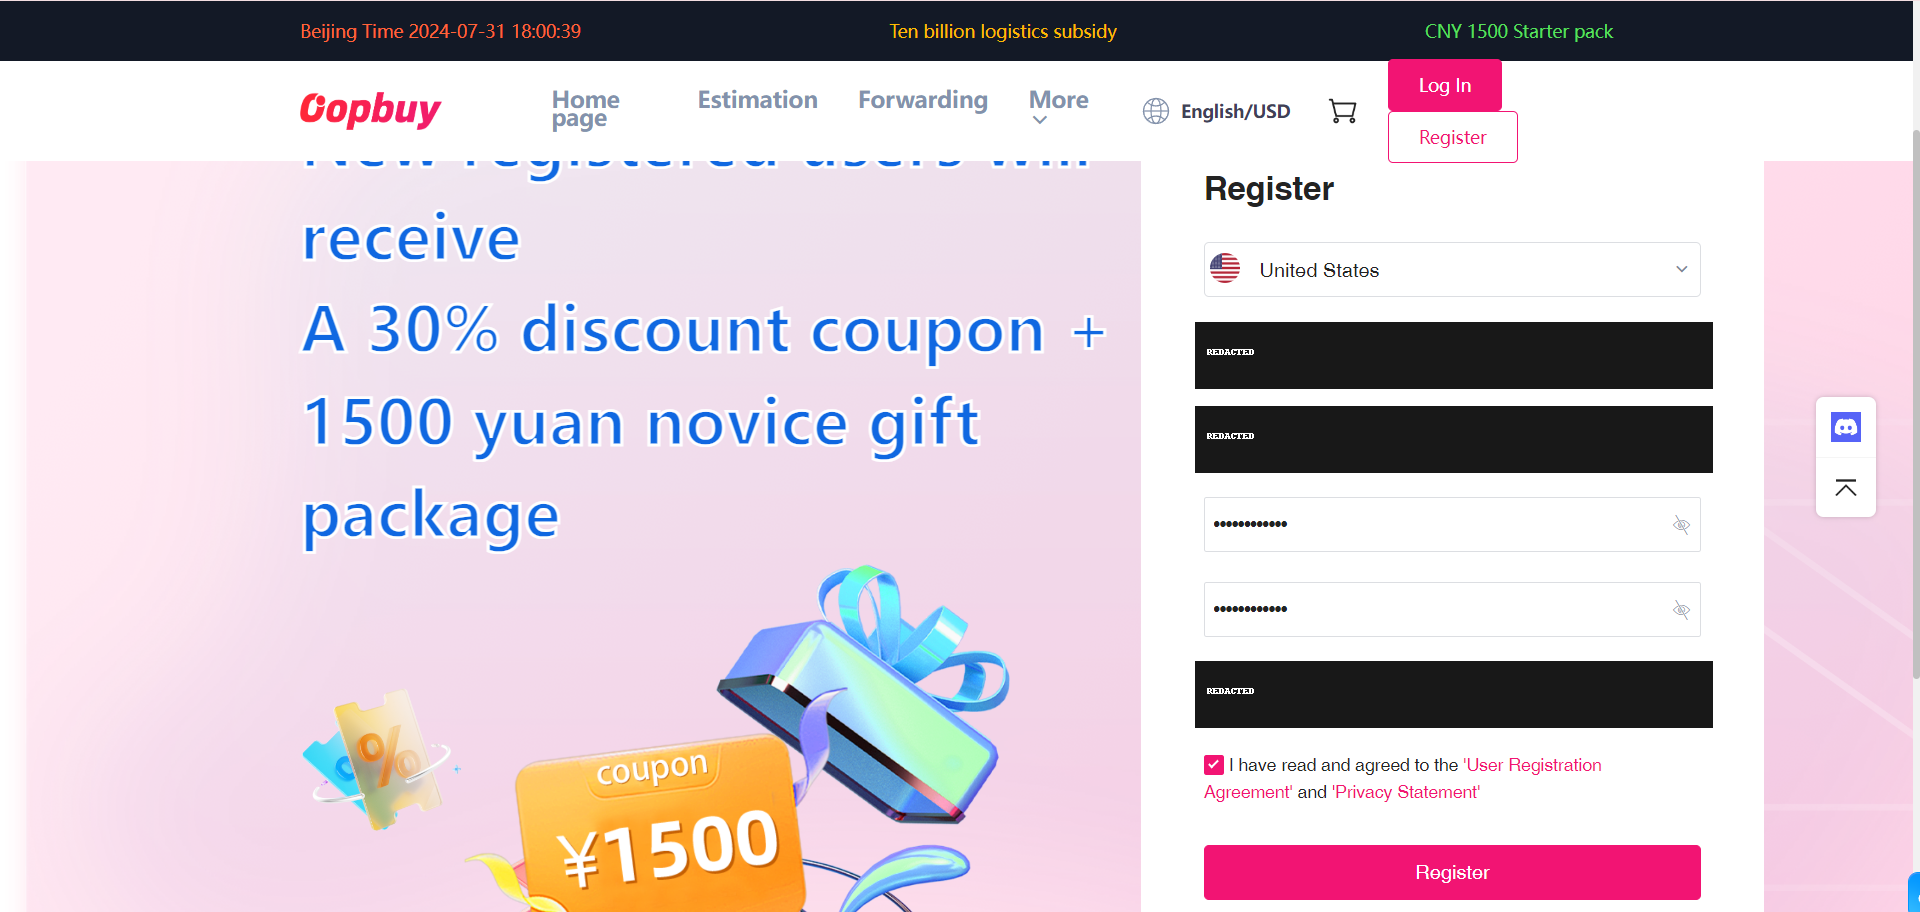
1. Register and keep access to your account
Use your own email and secure credentials. Check the account country and read the terms before registering. The tutorial’s welcome offer is historical; the account page determines any present eligibility.
2. Check any coupon conditions
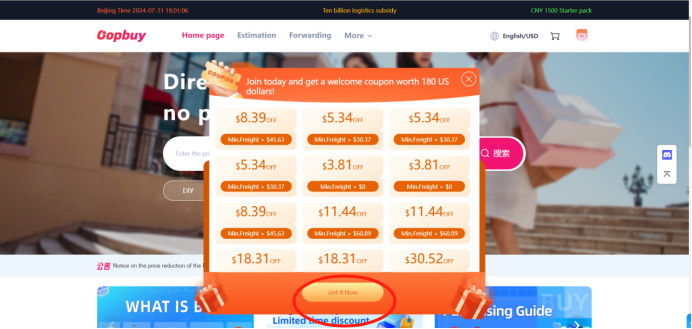
The tutorial next opens the coupon panel. Check its expiry, eligible route, minimum spend and whether it applies to an item or shipping payment. A bundle total is not an immediate cash discount.
3. Search for the item or paste its seller link
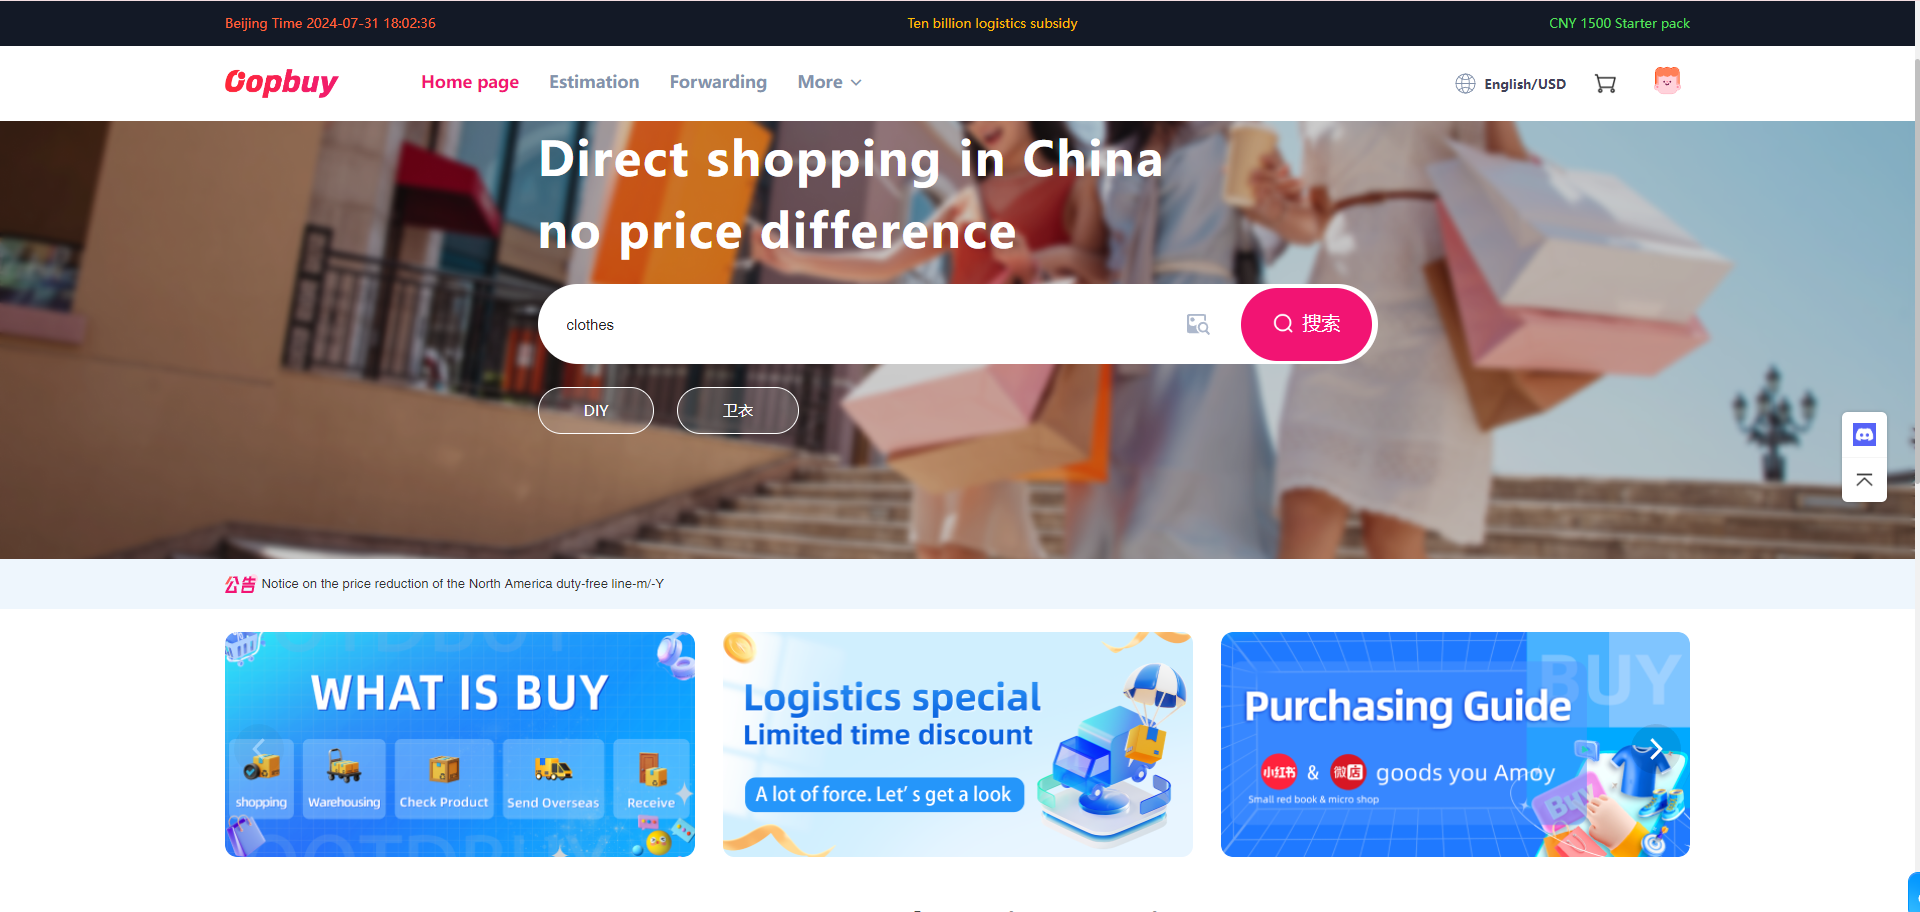
Start with the spreadsheet category or search, open the seller listing, then paste its URL into Oopbuy. Compare the returned product title and options. If the wrong item loads, do not pay; ask support to resolve the link.
4. Choose the style, size and quantity
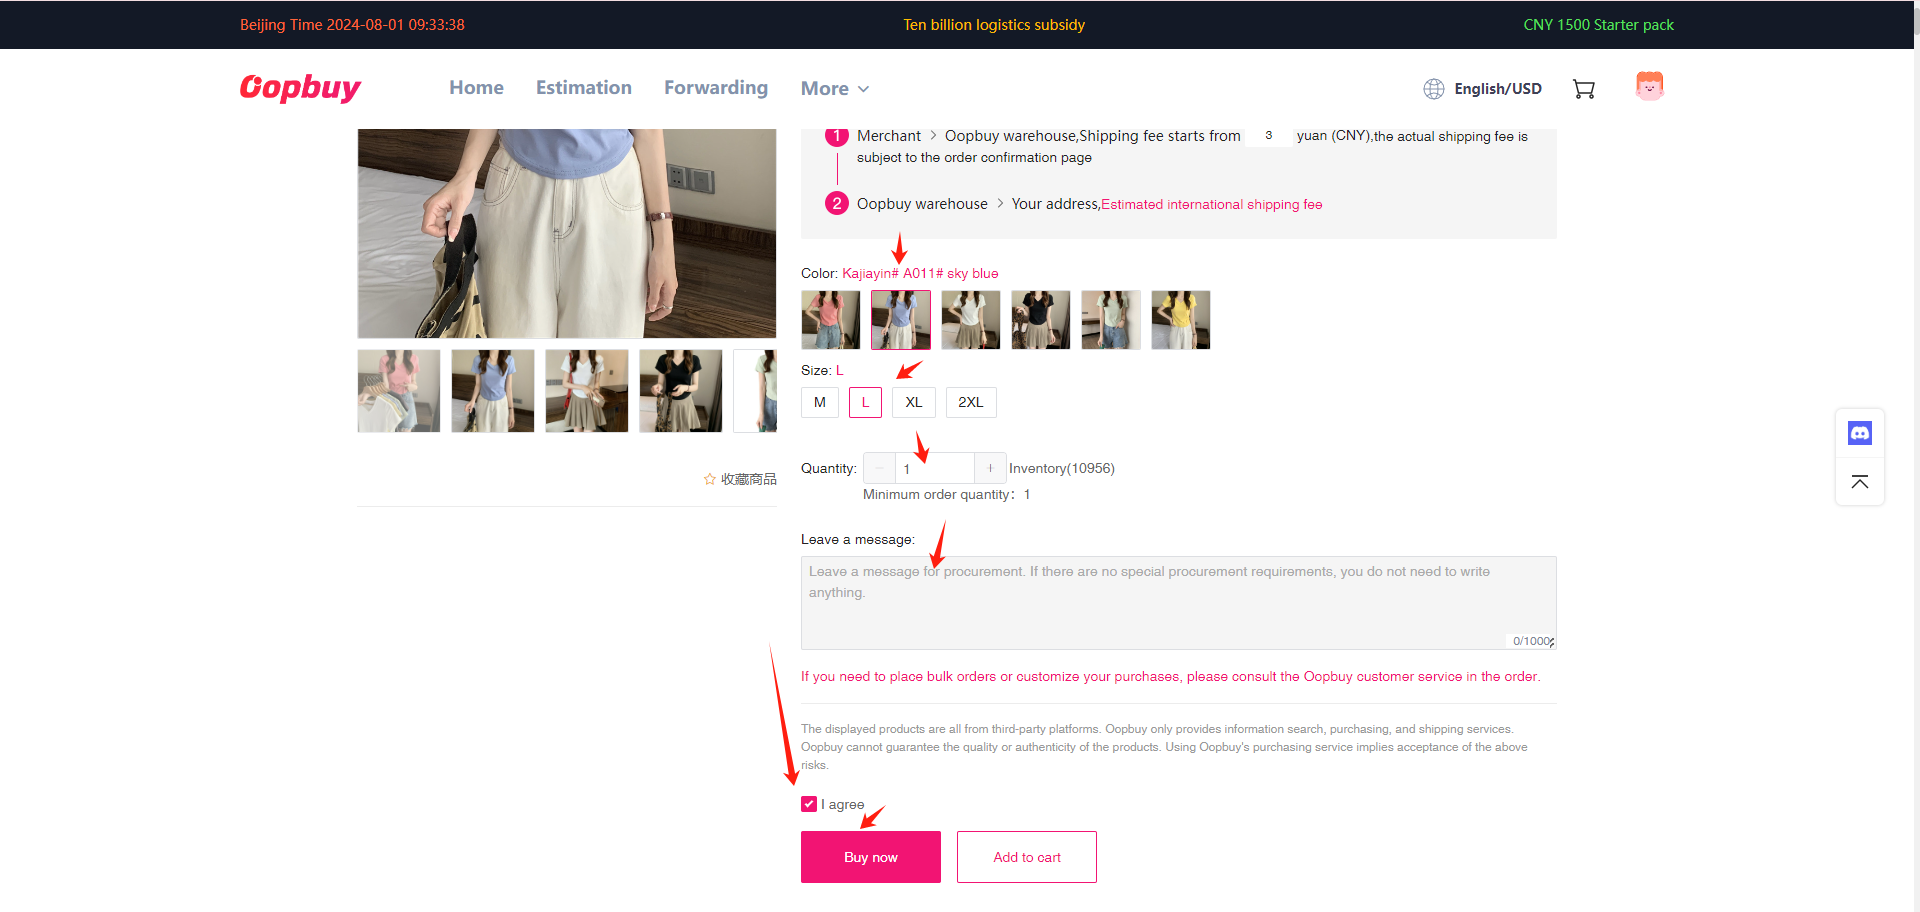
Compare measurements with something you own. Save the selected options and the listing. Use order remarks for a specific request, but confirm that the agent can fulfil it; remarks are not a promise of a functional test or a seller return.
5. Confirm details and make the item payment
Check the order summary and domestic freight. This payment covers purchasing the goods, not the later trip to the UK. Compare the amount your payment provider charges with the CNY credited; leave room in the budget for the shipping stage.
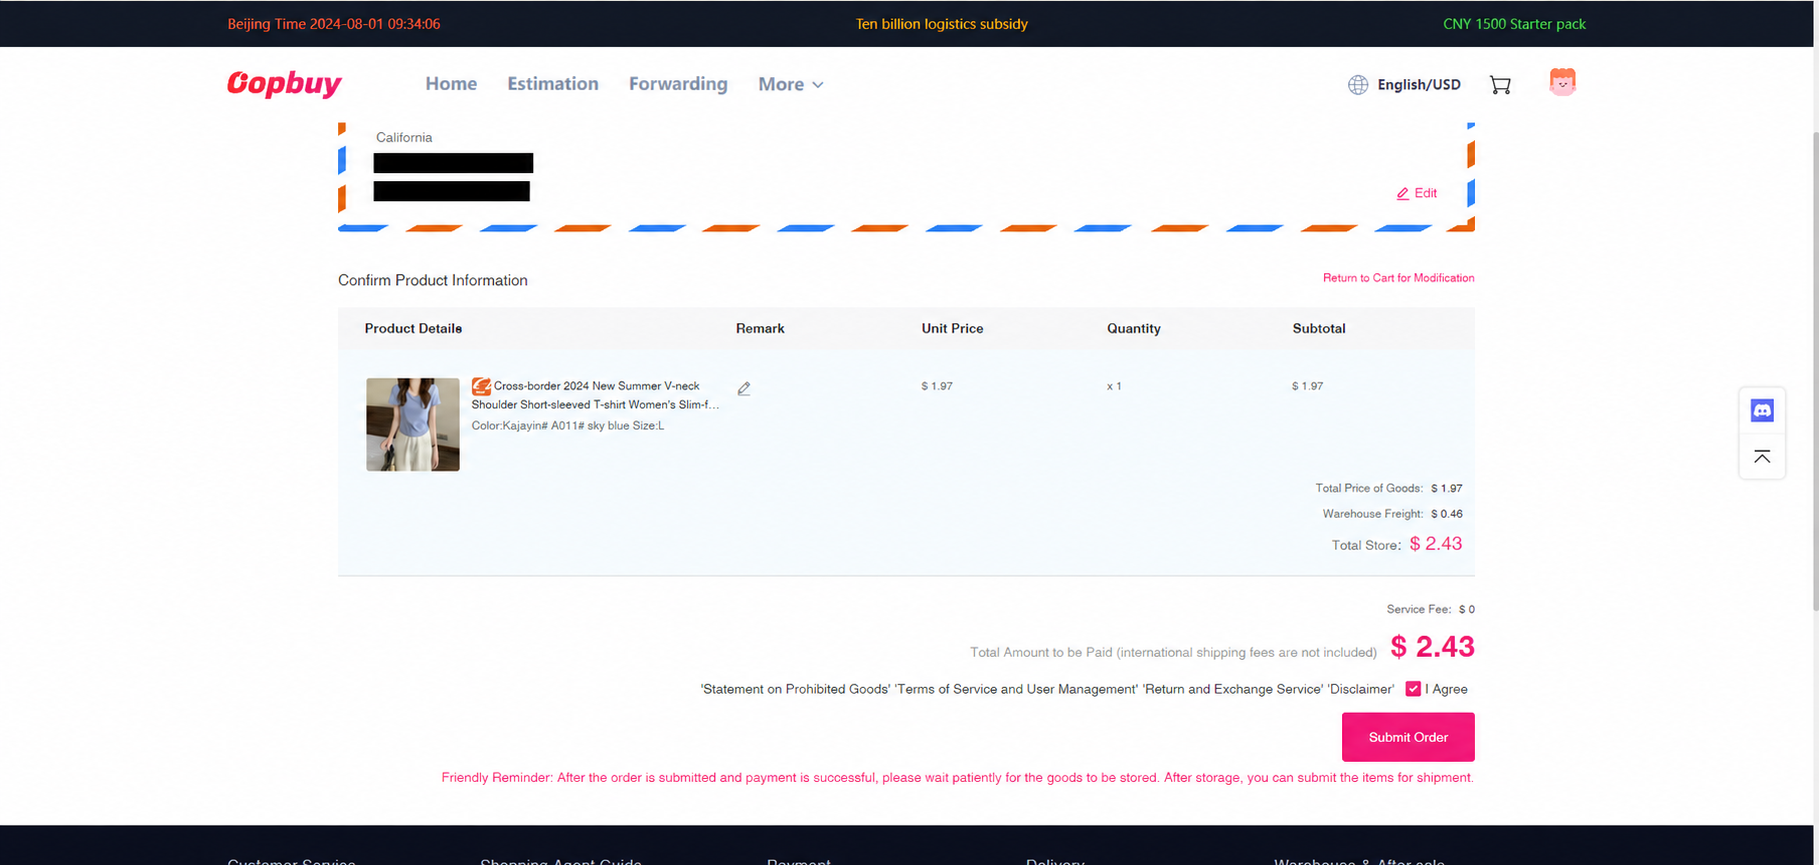
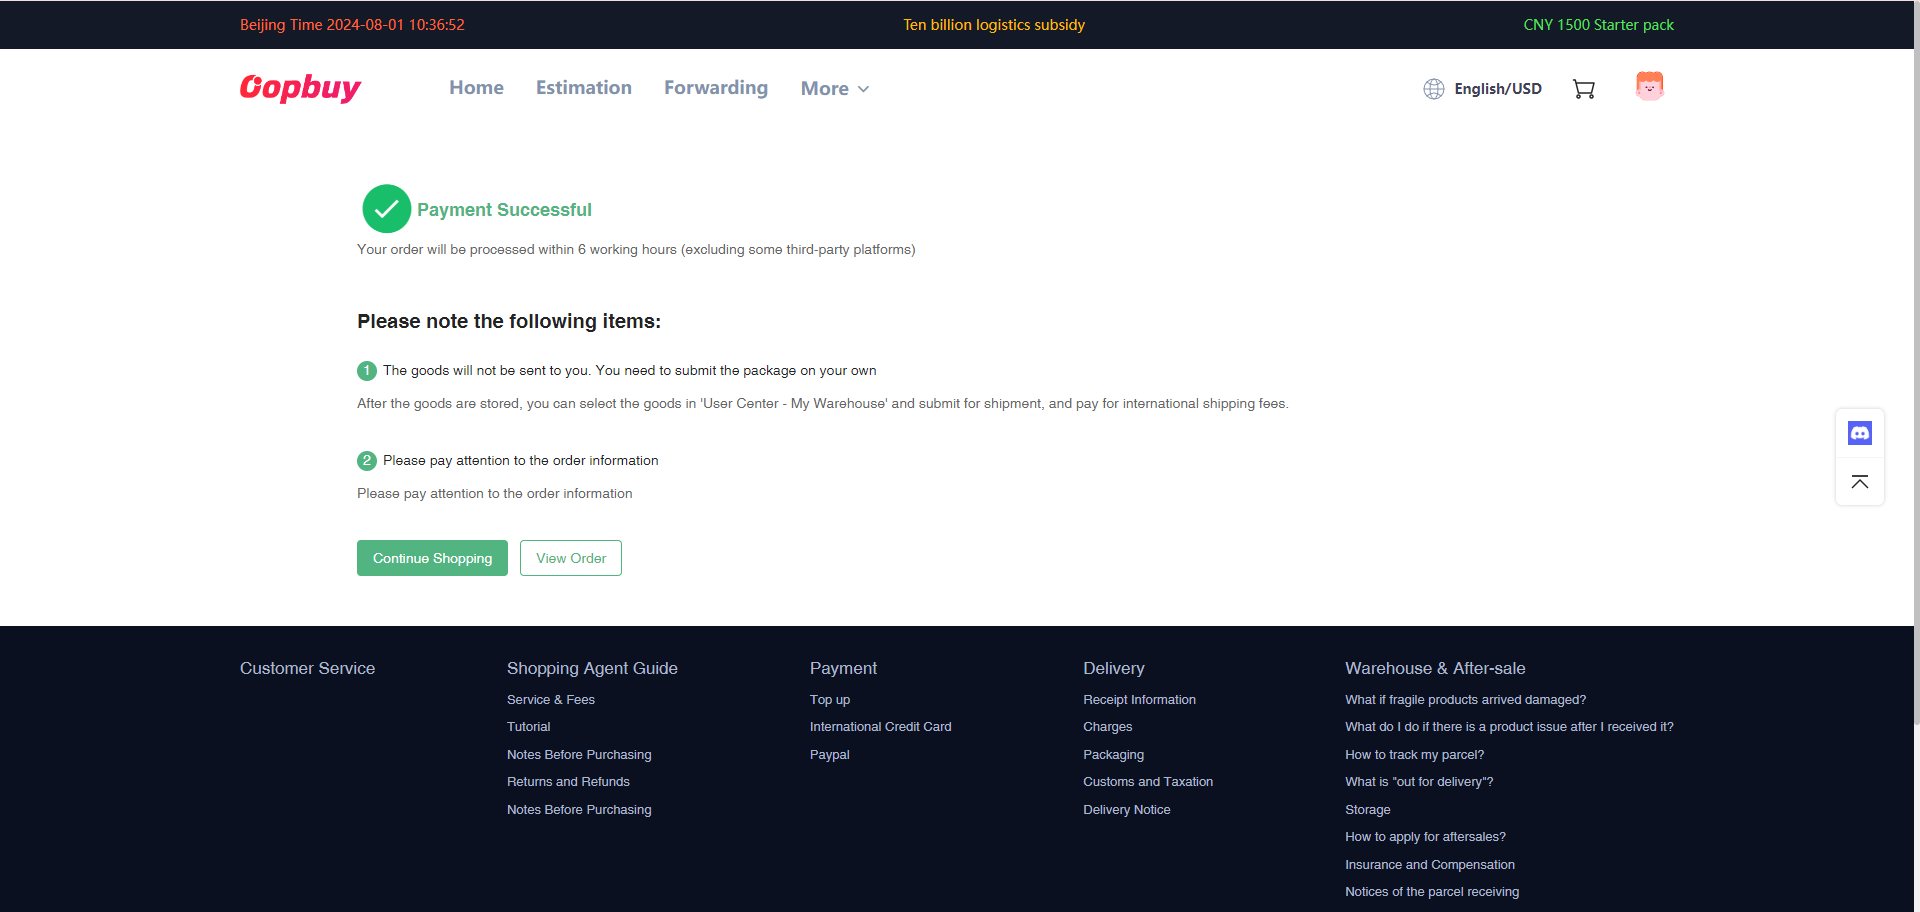
6. Open the order and follow purchasing status
The successful-payment screen provides View order. Check whether the agent has purchased the item and whether the seller has dispatched it. Out-of-stock, price changes and seller delays need a decision; ask before accepting a substitute.
7. Inspect the warehouse items before creating a waybill
Once received, open each item’s QC photos. Check quantity, colour, label and visible condition against the order. Request a useful close-up or measurement where needed. Resolve returns before shipping; waiting for another item must not silently exhaust a return or storage window. The tutorial warehouse thumbnail is a placeholder, not a QC sample.
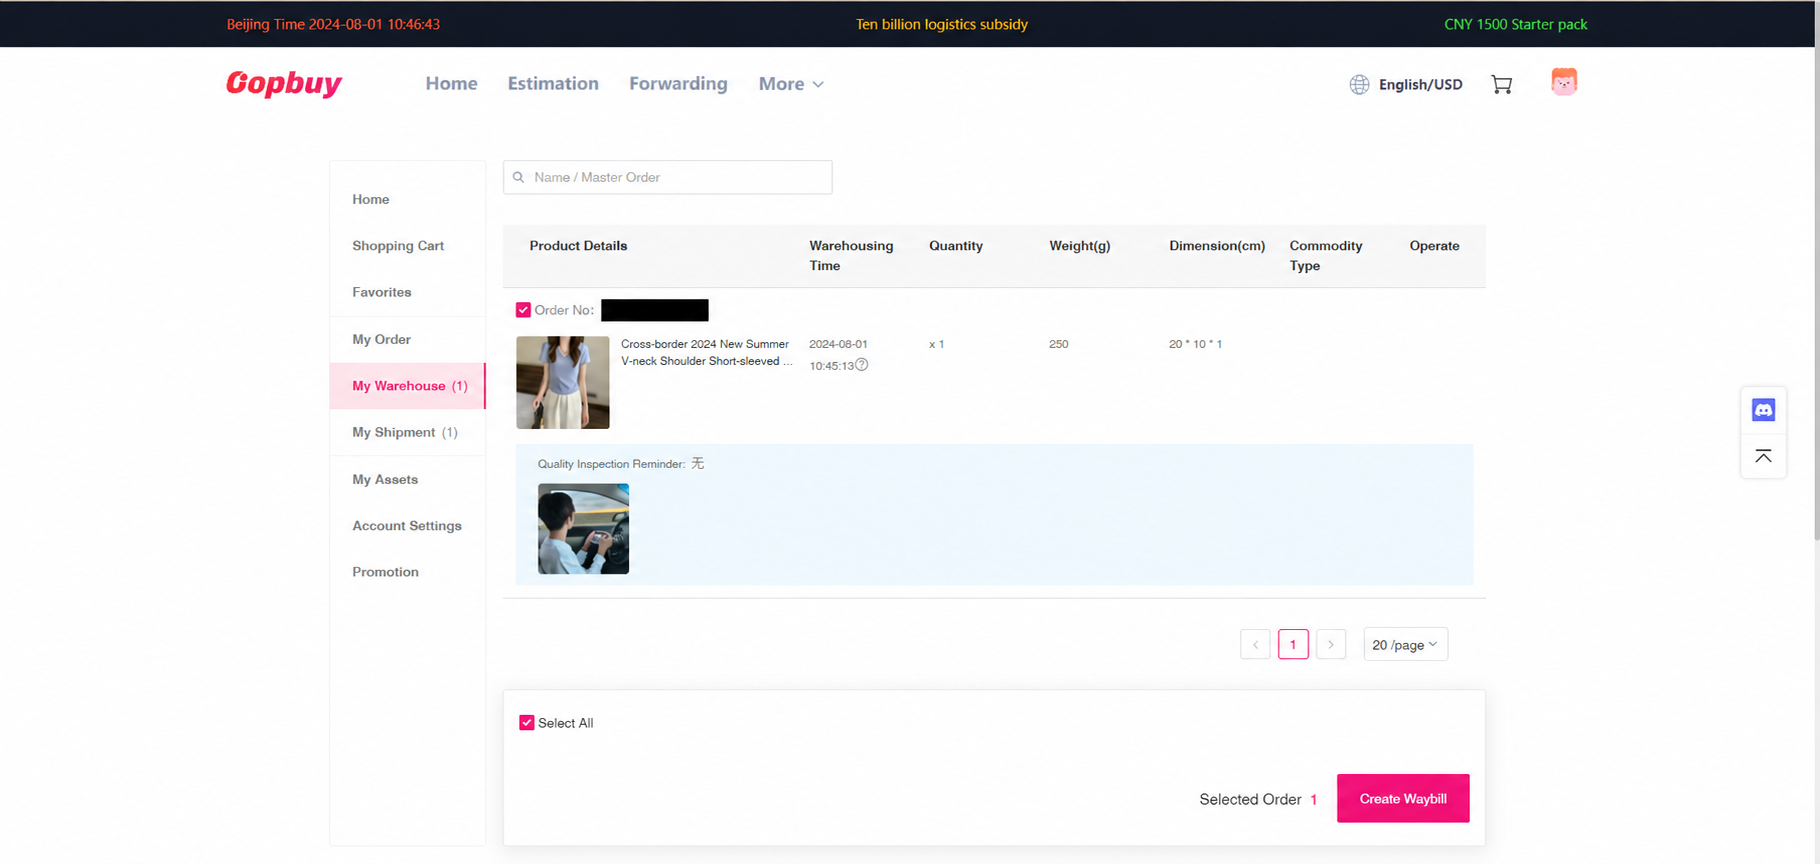
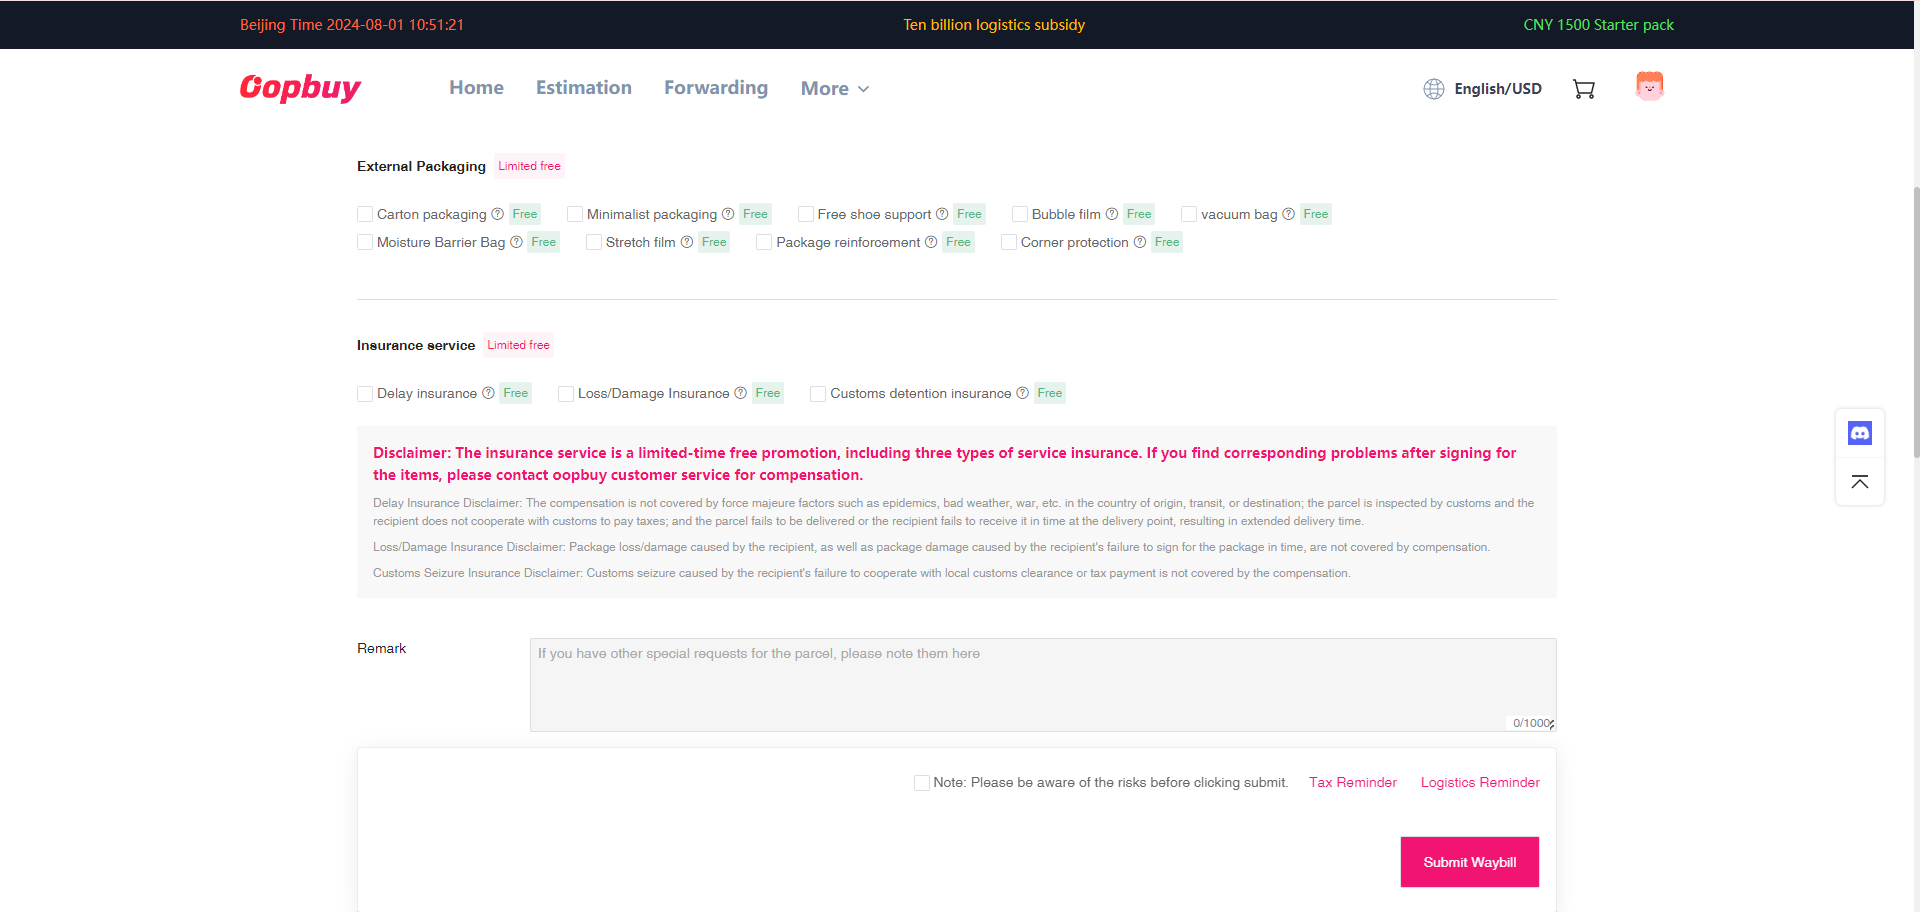
8. Create the waybill and choose the parcel options
Select only the items you intend to ship. Check name, postcode, address and telephone number. Compare route restrictions for every item, then choose suitable packaging and any eligible protection. Keeping a shoebox helps preserve packaging; removing it may reduce volume but changes protection and evidence. Read coverage exclusions before paying.
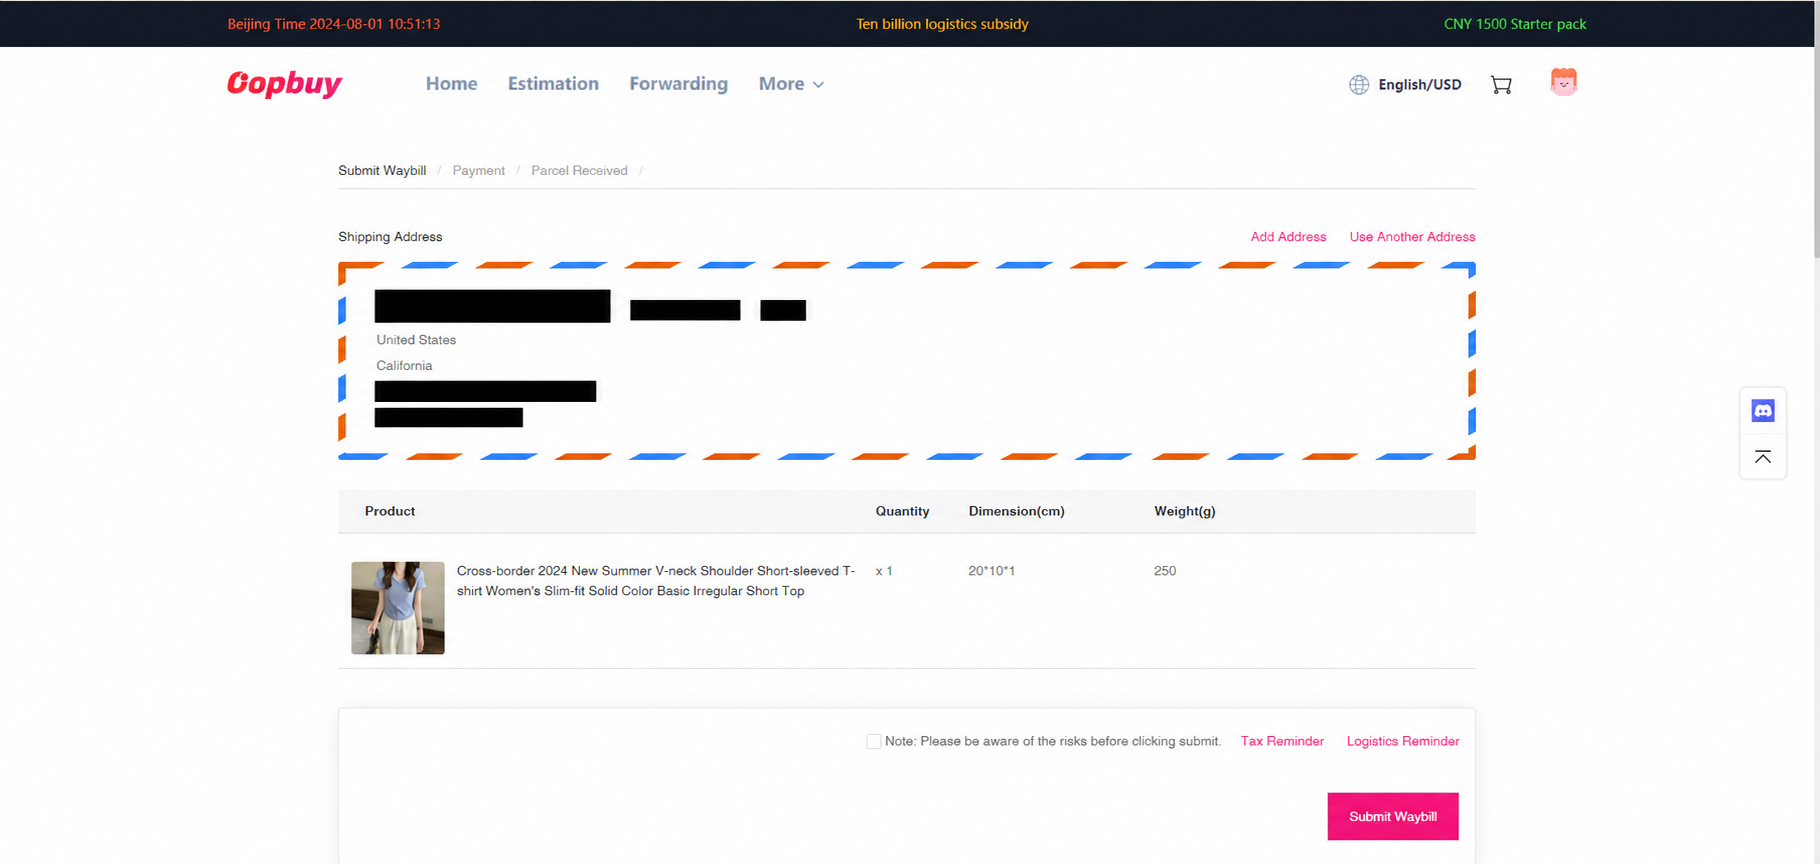
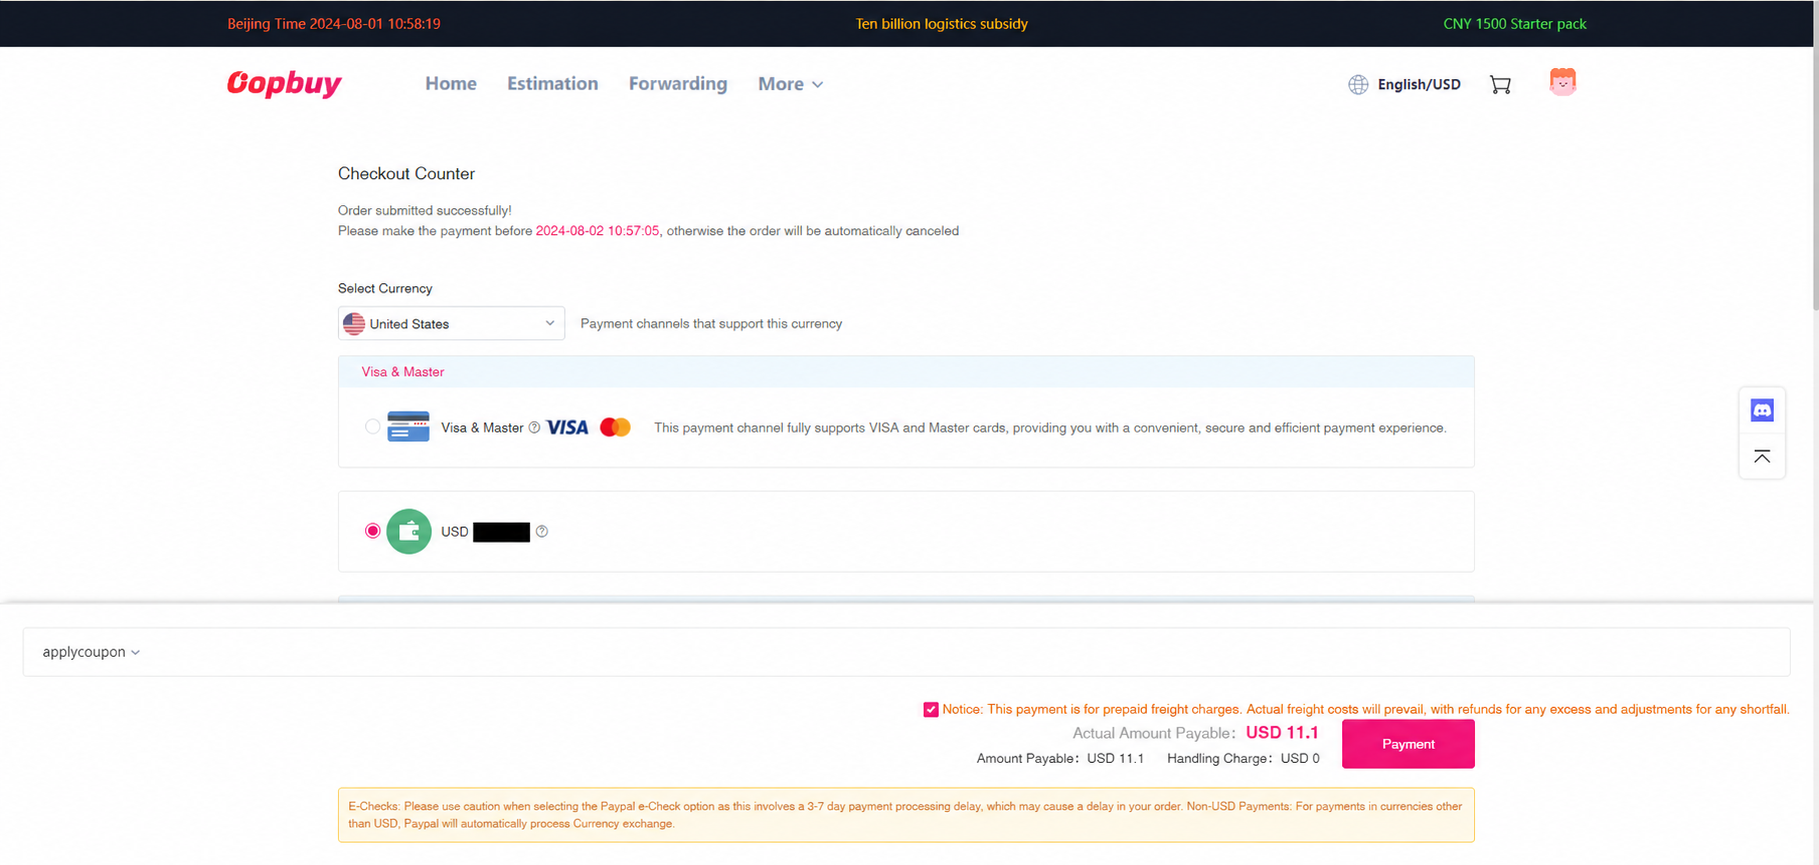
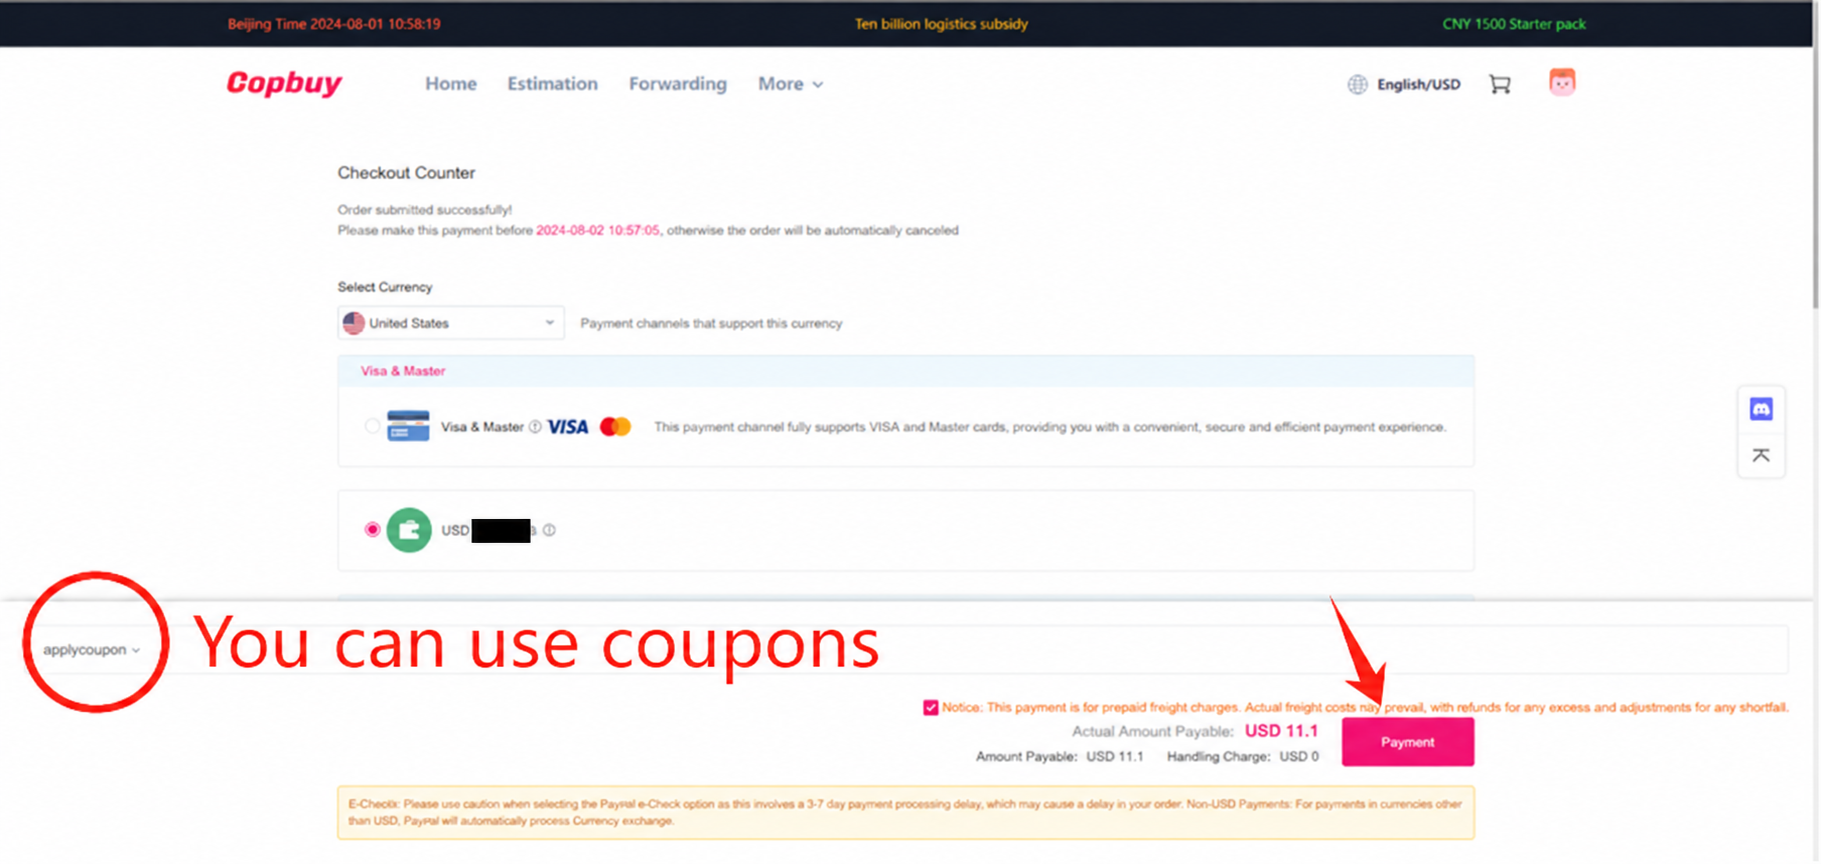
9. Pay the estimated international freight
The tutorial shows an estimated shipping payment. Check the route, estimate and any valid shipping coupon. An estimate is not the final packed weight or final bill. Keep a copy of the chosen route and its terms.
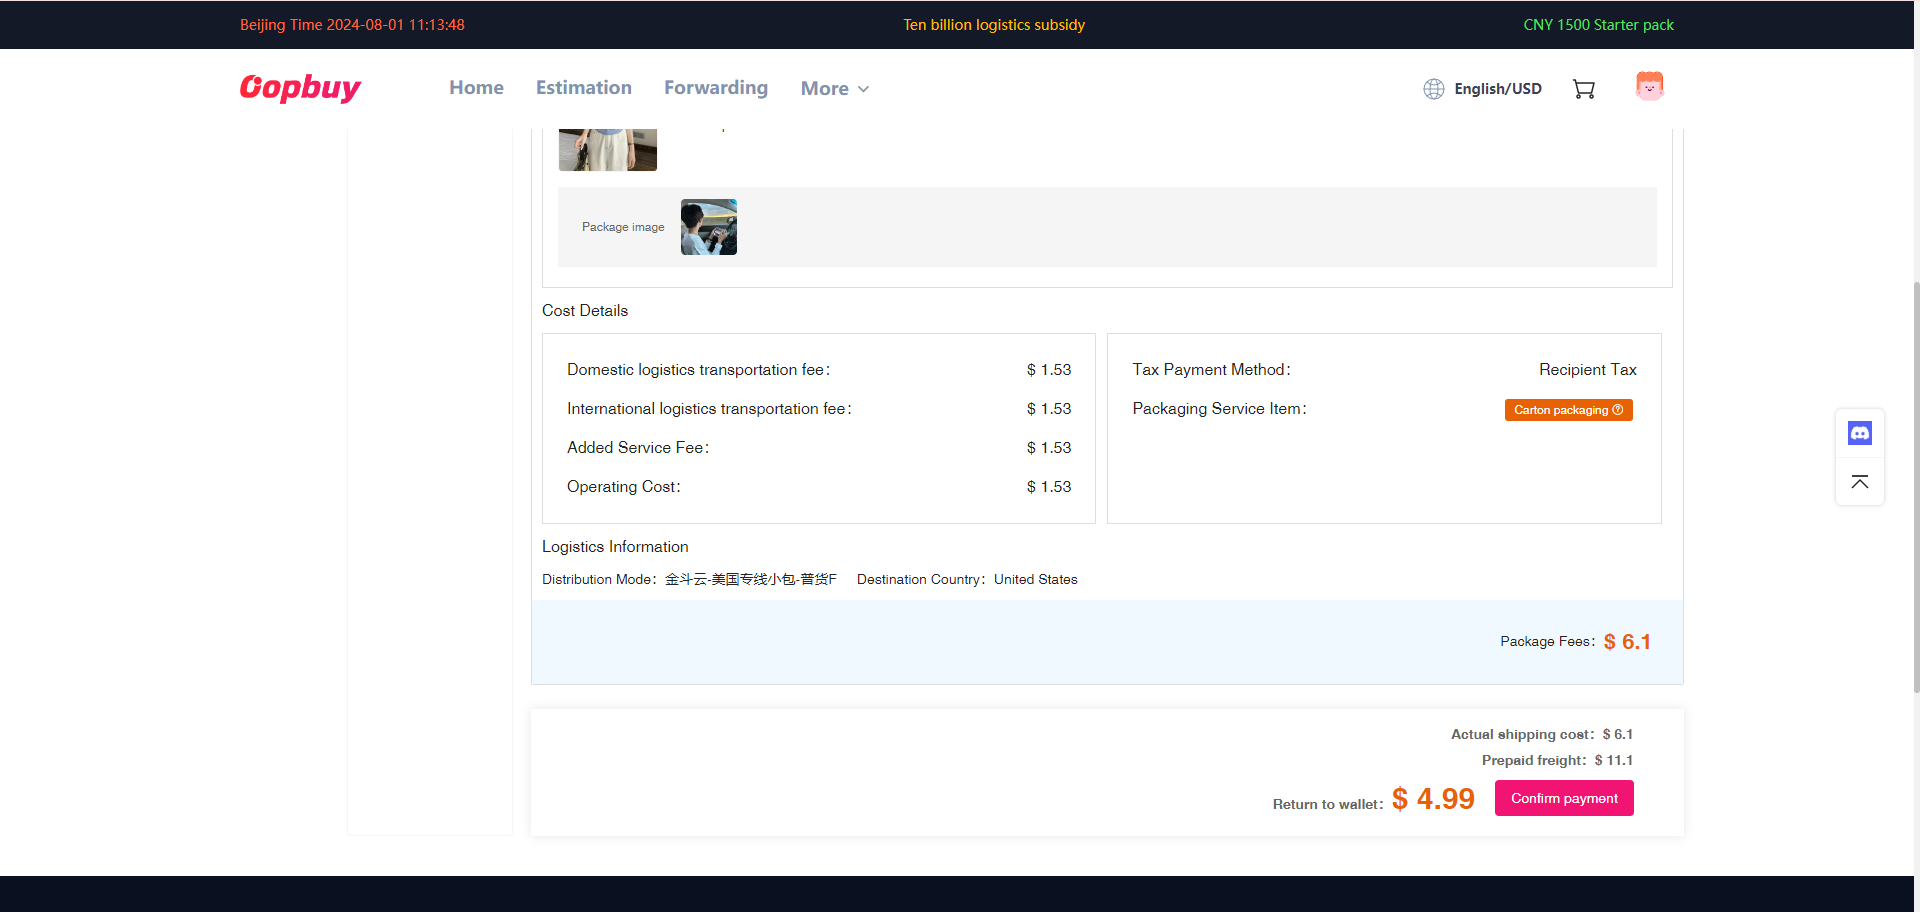
10. Review the packed parcel and settle the difference
After packing, review the shipment details and actual charge. The tutorial describes an extra payment if the estimate was low, or an account refund if it was high. Check the bill rather than assuming your initial estimate covers everything. Its example thumbnail does not demonstrate QC quality.
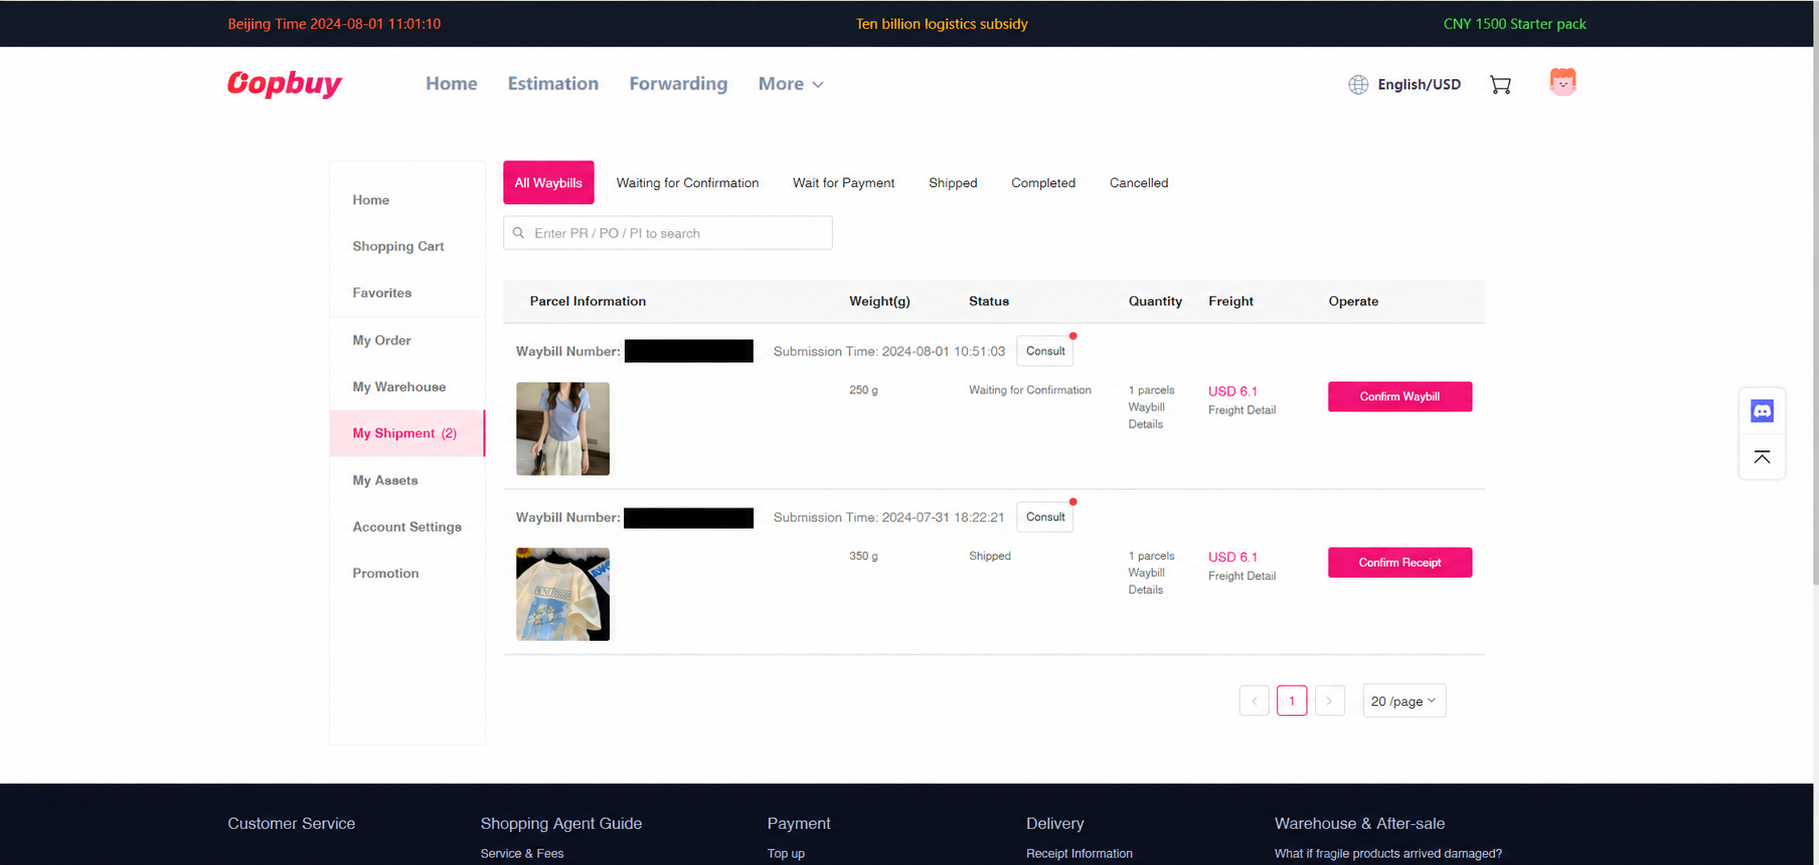
11. Track, receive and keep evidence
Use My Waybill / My Shipments to follow the parcel. Save the dispatch date and tracking number. A quiet tracking period does not establish loss: compare the line’s stated handling stages and ask support if it exceeds the indicated range. At delivery, keep the outer packaging, photograph damage and report any problem promptly with the parcel and order IDs.
What to do when the next step is not clear
A seller cannot supply your size: request cancellation or agree a replacement explicitly. A QC image is too distant: request the exact measurement or close-up before deciding. A route disappears: recheck the goods category, weight, postcode and current availability. A bill changes after packing: compare the actual/volumetric weight and extras before settling.
Continue with QC, returns and storage, costs and route selection, or help for an existing order.